Zucchini Fritters: Crispy, Flavorful, and Simple to Make
Looking for a quick and delicious summer dish? Zucchini fritters are the perfect choice! These crispy bites are packed with flavor and incredibly easy to prepare. Whether you’re a seasoned cook or a beginner, this recipe will become a go-to for your kitchen.
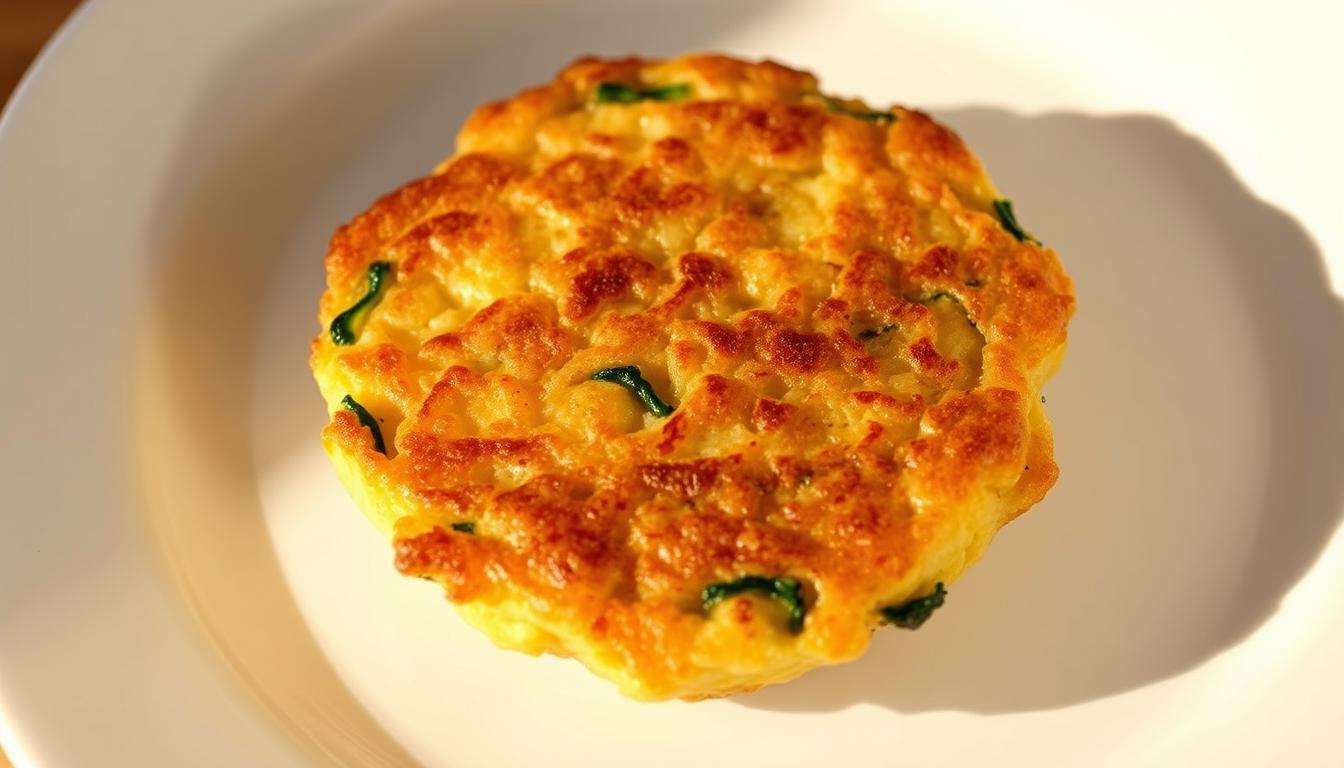
Made with simple ingredients like grated zucchini, flour, and eggs, these fritters are versatile enough to serve as a snack, side, or even a brunch item. Their golden brown edges and tender centers make them irresistible. Plus, they’re a great way to use up any extra zucchini from your garden.
In this article, you’ll find step-by-step instructions, expert tips, and creative twists to elevate your dish. From ingredient selection to storage tips, we’ve got you covered. Let’s dive in and make your summer meals even more special!
Key Takeaways
- Zucchini fritters are a quick and easy summer recipe.
- They’re versatile, serving as a snack, side, or brunch item.
- Perfect for using up extra zucchini from your garden.
- Golden brown edges and tender centers make them irresistible.
- Includes expert tips and creative twists for added flavor.
Introduction: Why Zucchini Fritters Are a Summer Favorite
When summer rolls around, kitchens across America turn to a beloved dish. These crispy, golden bites are not only quick to make but also a fantastic way to enjoy fresh, seasonal produce. Their versatility makes them a hit at any meal, whether as a snack, side, or even a brunch item.
The natural texture and flavor of the main ingredient shine through in every bite. With a crispy exterior and a tender center, these fritters are irresistible. They’re also incredibly simple to prepare, taking just minutes from start to finish.
This dish is perfect for using up garden-fresh produce, adding a fun twist to your summer meals. Whether you’re cooking for family or entertaining guests, it’s a crowd-pleaser that never disappoints. Plus, it’s a great way to introduce kids to new flavors and textures.
In this article, you’ll find everything you need to master this recipe. From selecting the best ingredients to creative serving ideas, we’ve got you covered. Let’s dive in and make your summer cooking even more special!
- Popularity: A staple in American kitchens during the warmer months.
- Texture: Crispy on the outside, tender on the inside.
- Simplicity: Quick and easy to prepare, even for beginners.
- Versatility: Perfect as a snack, side, or brunch item.
- Garden-Fresh: An excellent way to use up seasonal produce.
Essential Ingredients and Equipment
Ready to whip up a tasty summer treat? The key to perfect zucchini fritters lies in using the right ingredients and tools. Start with fresh, medium-sized zucchini for the best texture and flavor. You’ll also need eggs, flour, and seasonings like sea salt and pepper to bring everything together.
Proper equipment makes the process smoother. A box grater or food processor helps shred the zucchini quickly. To remove excess moisture, use a cheesecloth or colander. This step ensures your fritters stay crispy and don’t become soggy.
For cooking, a heavy skillet like cast iron works best. It distributes heat evenly, giving your fritters that perfect golden finish. Olive oil is ideal for frying, adding a subtle richness to the dish.
Here’s a quick checklist of what you’ll need:
- Fresh zucchini: 2 pounds, grated and drained.
- Eggs: 2 large, for binding the mixture.
- Flour: 1 cup, to hold everything together.
- Seasonings: 1 1/2 teaspoons of salt and a pinch of pepper.
- Skillet: A heavy pan for even cooking.
- Olive oil: 2 tablespoons, for frying.
With these ingredients and tools, you’re all set to create a batch of delicious fritters. Remember, precision in measurements and preparation makes all the difference. Let’s get cooking!
Choosing and Prepping the Perfect Zucchini
The secret to a crispy, flavorful dish lies in the preparation. Selecting the right zucchini and handling it properly can make all the difference in your recipe. Let’s break down the steps to ensure your dish turns out perfectly every time.
Selecting the Best Zucchini for Fritters
Start by choosing firm, medium-sized zucchini. These are ideal because they have fewer seeds and less water content, which helps maintain the right texture. Avoid oversized or soft zucchini, as they can make your dish soggy.
Homegrown zucchini tend to be watery, so if you’re using garden-fresh produce, take extra care during preparation. The goal is to achieve a light, crispy finish, and the right zucchini sets the foundation for success.
Grating and Draining Techniques
Once you’ve selected your zucchini, it’s time to grate it. Use a box grater or a food processor attachment for even shreds. This step ensures consistency in your dish.
After grating, the most critical step is draining. Squeeze out as much liquid as possible using a cheesecloth or by hand. Excess moisture can ruin the texture, so take your time with this step. Pro tip: let the grated zucchini sit in a colander for a few minutes to remove even more water.
Proper preparation sets the stage for a light, uniform batter. With these tips, you’re well on your way to creating a dish that’s crispy on the outside and tender on the inside.
Mixing and Forming Your Zucchini Fritter Batter
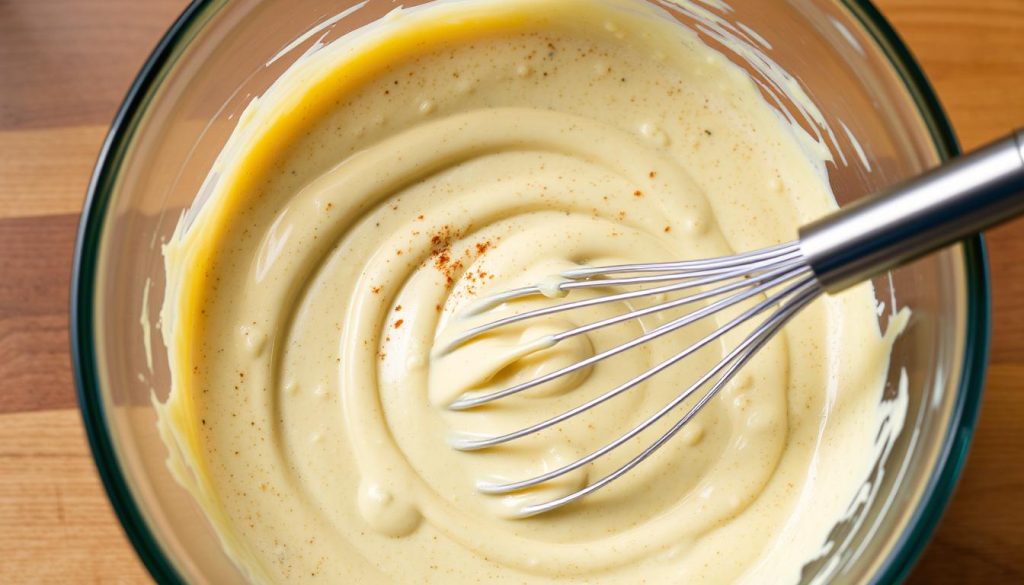
Creating the perfect batter is the foundation of a great dish. It’s all about combining the right ingredients with the proper technique. Start by lightly beating the eggs in a large bowl. This ensures they blend smoothly with the other components.
Next, add the drained zucchini, salt, and green onions. Gently fold these into the egg mixture. The goal is to maintain the zucchini’s texture while ensuring everything is evenly distributed.
Binding Ingredients: Eggs, Flour, and Seasonings
Once the base is ready, it’s time to add the dry ingredients. Gradually sprinkle in the flour and baking powder. Use a folding motion to incorporate them. Overmixing can make the batter heavy, so handle it with care.
Seasonings like pepper and garlic powder can enhance the flavor. Add them sparingly to avoid overpowering the dish. The result should be a light, cohesive mixture that holds together well.
Shaping Techniques for Uniform Fritters
Shaping the batter is just as important as mixing it. Use a 1/4-cup scoop to portion the mixture. This ensures each fritter is the same size, which helps them cook evenly.
Place each scoop onto a plate or tray. Lightly flatten them with your hand or a spatula. This step helps achieve a consistent, crisp edge. Avoid pressing too hard, as it can make the fritters dense.
| Step | Technique | Purpose |
|---|---|---|
| 1 | Beat eggs | Ensure smooth blending |
| 2 | Fold in zucchini | Maintain texture |
| 3 | Add dry ingredients | Create a light batter |
| 4 | Shape with scoop | Ensure uniform size |
| 5 | Flatten gently | Achieve crisp edges |
With these steps, you’ll have a well-mixed batter ready for cooking. The right technique ensures a perfect balance of flavor and texture in every bite.
Cooking Techniques for Crispy, Golden Brown Fritters
Achieving the perfect crispiness requires the right cooking method. Whether you’re a fan of pan-frying or prefer oven-baking, each technique has its pros and cons. Let’s explore the best ways to ensure your dish turns out golden brown and delicious every time.
Pan-Frying vs. Oven-Baking: Pros and Cons
Pan-frying is a classic method that delivers a crispy exterior and tender center. Using a cast-iron skillet or heavy pan ensures even heat distribution. Cook for 3-5 minutes per side on medium heat, adjusting if the edges brown too quickly. This method is quick but requires attention to prevent burning.
Oven-baking, on the other hand, is a healthier alternative. Preheat your oven to 400°F and bake for 15-20 minutes, flipping halfway through. While it’s less hands-on, the texture may not be as crisp as pan-frying. Choose based on your preference for convenience or crunch.
Temperature and Timing Tips
Proper temperature control is key to achieving golden brown results. For pan-frying, preheat your skillet to medium heat. Too high, and the outside will burn before the inside cooks. Too low, and the dish will absorb excess oil, losing its crispiness.
When baking, ensure your oven is fully preheated. Use parchment paper or a lightly greased baking sheet to prevent sticking. Timing is crucial—overcooking can dry out the dish, while undercooking leaves it soggy.
Using Olive Oil and Alternative Cooking Oils
Olive oil is a popular choice for its rich flavor and health benefits. It’s perfect for pan-frying at medium heat. For a neutral taste, try avocado oil, which has a higher smoke point. Both options add a subtle richness to your dish.
Pro tip: If you’re making a large batch, use two pans simultaneously to cut cooking time in half. This ensures consistent results without compromising quality. With these techniques, you’ll master the art of cooking crispy, golden brown fritters every time.
Mastering Zucchini Fritters: Expert Tips and Flavor Boosters
Elevating your dish with fresh herbs and spices can transform a simple recipe into a gourmet experience. The right combination of flavors can make all the difference, turning a basic dish into something extraordinary. Here’s how to take your fritters to the next level.
Incorporating Fresh Herbs and Spices
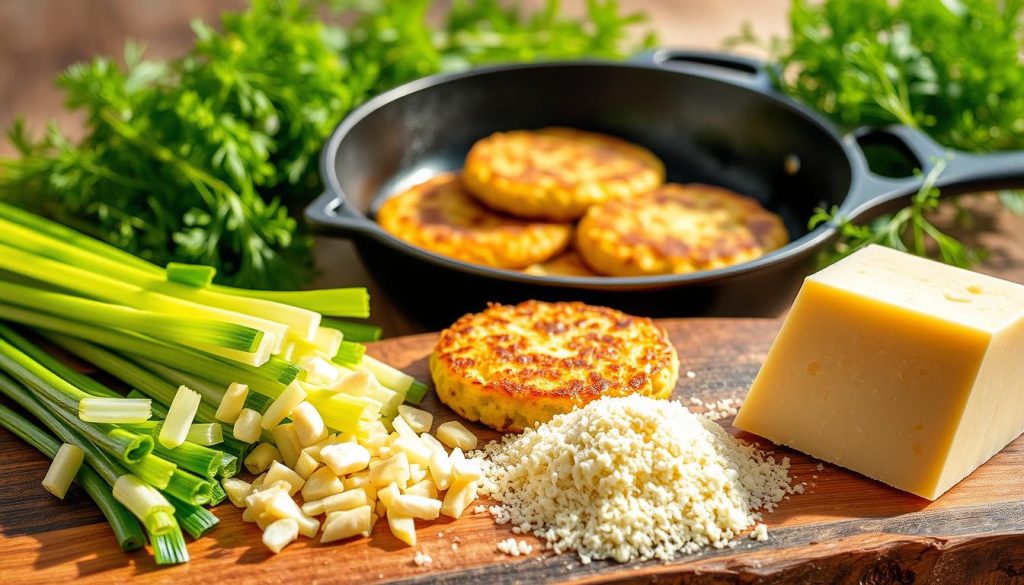
Fresh herbs like dill, parsley, or chives add a bright, aromatic touch to your dish. Finely chop them and mix them into the batter for an instant flavor upgrade. Pro tip: Add a teaspoon of lemon zest for a zesty twist that complements the herbs perfectly.
Spices like paprika or turmeric can add depth and warmth. A pinch of garlic powder or smoked paprika can elevate the overall taste profile. Experiment with different combinations to find your favorite.
Seasoning is key. Taste the batter before cooking and adjust the salt and pepper as needed. A well-balanced mixture ensures every bite is packed with flavor.
Here are some expert tips to keep in mind:
- Use fresh herbs for the best flavor. Dried herbs can work but may require adjustments in quantity.
- Add spices sparingly to avoid overpowering the dish.
- Balance herbs and spices to create a harmonious flavor profile.
Don’t be afraid to experiment. Try adding a dash of cayenne for heat or a sprinkle of cumin for earthiness. These small tweaks can make a big impact.
Creative Recipe Variations and Twists
Experimenting with new ingredients can take your dish to the next level. Whether you’re catering to dietary restrictions or simply looking to add a unique twist, there are endless ways to customize this classic recipe. Let’s explore some creative variations that will keep your meals exciting and fresh.
Substitutes and Swaps: Yellow Squash and Gluten-Free Options
If you’re out of zucchini, yellow squash is a fantastic substitute. It has a similar texture and flavor, making it an easy swap. Simply grate and drain it the same way you would with zucchini. This small change can bring a new color and subtle sweetness to your dish.
For those avoiding gluten, try using almond flour or chickpea flour instead of regular flour. These alternatives not only make the recipe gluten-free but also add a nutty flavor and extra protein. Just adjust the quantity slightly to achieve the right consistency.
Adding Unique Ingredients for Extra Flavor
Want to elevate the flavor profile? Consider adding finely chopped mushrooms for an earthy taste or a handful of panko breadcrumbs for extra crunch. These ingredients blend seamlessly into the batter, enhancing both texture and taste.
Fresh herbs like dill or parsley can brighten up the dish, while a sprinkle of lemon zest adds a zesty kick. For a richer flavor, mix in a bit of grated Parmesan or crumbled feta cheese. These small additions can transform the recipe into something entirely new.
“Cooking is all about creativity. Don’t be afraid to experiment and make the recipe your own.”
Here are a few more ideas to inspire your next batch:
- Spicy Twist: Add a pinch of cayenne pepper or diced jalapeños for a kick of heat.
- Mediterranean Flair: Mix in chopped sun-dried tomatoes and olives for a savory twist.
- Sweet and Savory: Incorporate shredded carrots or sweet corn for a touch of sweetness.
These variations allow you to tailor the dish to your preferences while keeping the preparation simple. Whether you’re cooking for a crowd or just for yourself, these creative twists will make every bite memorable.
Serving Suggestions: Dips, Sauces, and Garnishes
Enhance your meal with the perfect accompaniments to make every bite unforgettable. The right dips, sauces, and garnishes can elevate your dish from simple to spectacular. Whether you’re hosting a gathering or enjoying a quiet meal, these serving ideas will add a burst of flavor and visual appeal.
Perfect Pairings: Tzatziki, Aioli, and Tartar Sauce
Pair your dish with a variety of dips to suit every taste. Tzatziki, with its cool yogurt base and hints of garlic and dill, complements the crispy texture perfectly. For a richer option, try aioli, a creamy garlic sauce that adds depth to every bite. If you prefer a tangy twist, tartar sauce with its pickled notes is an excellent choice.
Here are some tips for serving:
- Serve dips in small bowls for easy access.
- Garnish with a sprinkle of fresh herbs like parsley or chives.
- Add a squeeze of fresh lemon for a zesty finish.
Complementary sides can round out your meal. A simple green salad or roasted vegetables adds freshness and balance. These pairings ensure your dish is both satisfying and visually appealing.
Pro tip: Serve your dish hot to preserve its crispy texture. Experiment with different sauces to find your personal favorite. Whether you stick to classics or try something new, these serving suggestions will make your meal a hit.
Storage, Reheating, and Leftover Ideas
Keeping your summer dishes fresh and crispy is easier than you think. With the right techniques, you can enjoy your favorite recipe days after making it. Let’s explore how to store, reheat, and repurpose leftovers while maintaining their golden brown texture.
Proper Refrigeration and Freezing Techniques
To keep your dish fresh, store it in an airtight container in the refrigerator. This prevents moisture from softening the crispy edges. For best results, place a paper towel at the bottom of the container to absorb excess moisture. Your dish will stay fresh for up to five days.
For longer storage, freezing is a great option. Place the cooled fritters in a single layer on a baking sheet and freeze until solid. Then, transfer them to a freezer-safe bag or container. They’ll stay fresh for up to three months.
Reheating Without Losing Crispness
To bring back the crispy texture, reheat your dish in a preheated oven at 350°F for 10-15 minutes. Alternatively, use a skillet over medium heat for 2-3 minutes per side. Both methods help restore the golden brown finish without making them soggy.
For a quicker option, an air fryer works wonders. Reheat at 350°F for 5-7 minutes, flipping halfway through. This method ensures a crispy exterior and tender center every time.
Creative Leftover Ideas
Leftovers can be transformed into new meals. Try turning them into sandwiches by adding fresh greens and a tangy dip like tzatziki or aioli. They also make a great topping for salads or a side for soups.
Here’s a quick guide to reheating methods:
| Method | Time | Result |
|---|---|---|
| Oven | 10-15 minutes | Crispy and even |
| Skillet | 2-3 minutes per side | Quick and crispy |
| Air Fryer | 5-7 minutes | Perfectly crisp |
With these tips, you can enjoy your dish anytime without compromising its texture or flavor. Proper storage and reheating techniques ensure every bite is as good as the first.
Conclusion
Summer meals just got better with this simple yet flavorful recipe. From selecting fresh ingredients to mastering the perfect texture, each step ensures a delicious result. Whether you’re a beginner or a seasoned cook, this dish is a versatile addition to your summer menu.
Remember, the key lies in proper preparation and cooking techniques. Expert tips like draining excess moisture and using the right dip can elevate your dish. Don’t forget to store leftovers in an airtight container to maintain their crispiness.
Feel free to experiment with herbs, spices, or even alternative ingredients to make it your own. Share your creations and inspire others to try this recipe. Ready to enjoy a taste of summer? Grab your skillet and start cooking today!
FAQ
What’s the best way to drain grated zucchini for fritters?
After grating, sprinkle with a pinch of salt and let it sit for 10 minutes. Then, wrap it in a clean kitchen towel and squeeze out excess moisture. This step ensures your batter isn’t too watery.
Can I bake zucchini fritters instead of frying them?
Absolutely! Baking is a healthier option. Place them on a parchment-lined baking sheet, brush with olive oil, and bake at 400°F for 15-20 minutes, flipping halfway through for even browning.
What’s a good gluten-free alternative for flour in this recipe?
Almond flour or chickpea flour works well as a gluten-free substitute. They add a nutty flavor and help bind the ingredients together.
How can I add more flavor to my zucchini fritters?
Try mixing in fresh herbs like dill or parsley, or spices like garlic powder and paprika. Adding grated Parmesan or feta cheese also enhances the taste.
What’s the best dip to serve with zucchini fritters?
Tzatziki, aioli, or even a simple yogurt-based dip pairs perfectly. These sauces complement the crispy texture and add a creamy contrast.
Can I make zucchini fritters ahead of time?
Yes! Prepare the batter and store it in an airtight container in the fridge for up to a day. Cook them fresh when ready to serve for the best texture.
How do I reheat leftover zucchini fritters without losing crispness?
Reheat them in a skillet over medium heat with a drizzle of olive oil. This method helps restore their golden brown crunch better than microwaving.
Can I freeze zucchini fritters for later use?
Definitely! Place cooked and cooled fritters on a baking sheet, freeze until solid, then transfer to a freezer-safe bag. Reheat in the oven for best results.

